I am so excited to share with you my latest sets,
Fine Furnishings and Fine Furnishing Addition.
These sets include tons of sentiments and images that can be used to create a living room scene or stamped by themselves. The sets include both the solid images (for straight stamping) and line images (for coloring and paper piecing).
First up is an elegant wedding card that uses the chandelier image from the set. The sentiment is from
Enjoy the Sunshine STV kit and was die cut using the
Spellbinders Double End Tags. I used
GKD Black Onyx and White cardstocks. The patterned paper is by K&Co. and ribbon by Michael's.

The rest of the cards below were created as a set. This one uses the
GKD Ocean Mist CS, Fly a Kite by October Afternoon. If you look closely, I created a base board using a ScorPal. I also included a miniature version of the chandelier as you see on this card. The chairs were paper pieced.

Here is another scene with other images from this set. Many of the sentiments in the
Fine Furnishings Additions can fit inside the frame. Here you see the solid image version of the couch.

The GKD team is also previewing the newest Free with Three set
, Friends are Forever.

And remember these
paper roses from last release? Here they are again.

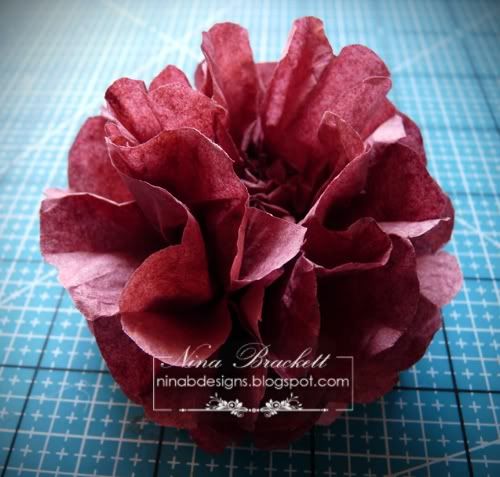
I have another paper flower to show you (the tutorial is at the end of this post). I packaged the cards above in a
clear box and added the paper dahlia to make a beautiful hostess gift. The sentiment is from
Fine Furnishings Addition.
 For more samples with the stamp sets being previewed tonight, check out these Designers' Links:
Please make plans to attend our
Release party tomorrow night,
Thursday night, May 27th from 7-10 central time which will be held at StampTV. There will be contest questions, challenges, samples from several designers and lots of chatter all leading up to 10pm central, when all the new products and stamp sets previewed this week on our blogs become available online through
GinaK Designs store!
---------------------------------
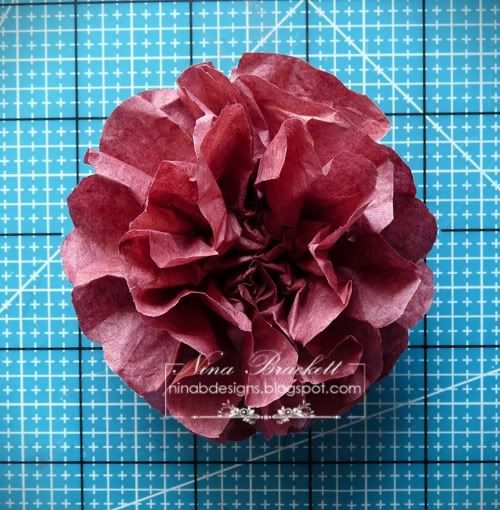
Paper Dahlia Tutorial: These flowers look bulky, but because they're made of thin paper sheets, you can flatten them for mailing. These would look great on a gift in lieu of a bow, as you can see from my sample above.
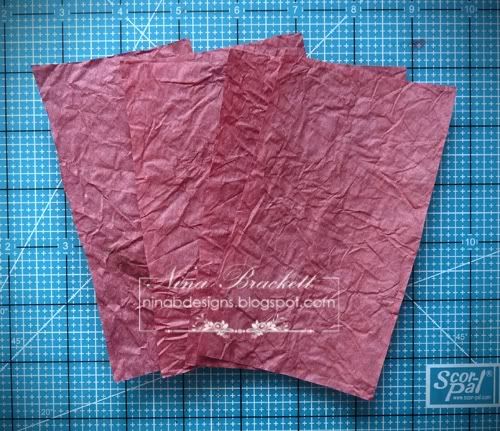
1. Cut 4 sheets of 3.5" x 5" tissue paper. You can also use handmade paper, thin patterned paper, wrapping paper, etc.). The width of the paper determines how wide you want your flower.

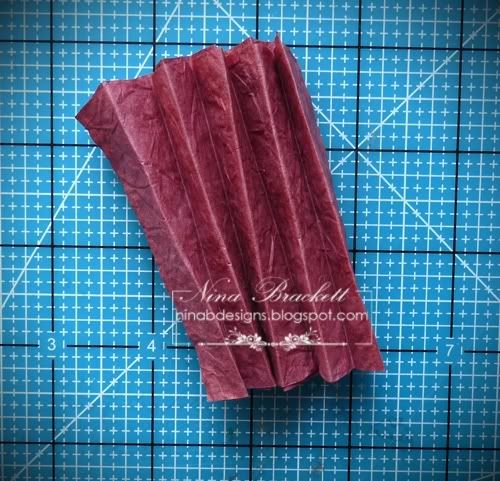
2. Accordion fold the stack of papers:

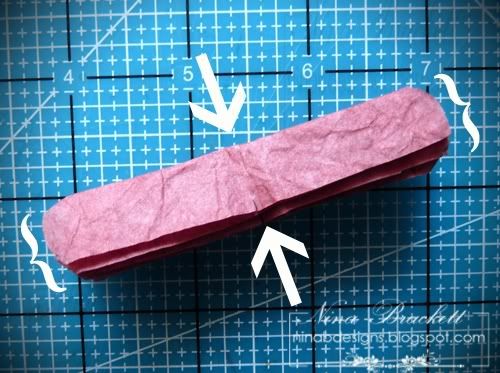
3. Mark the middle point cut a small slit on each side. Be careful that you don't cut all the way through. Round the ends.

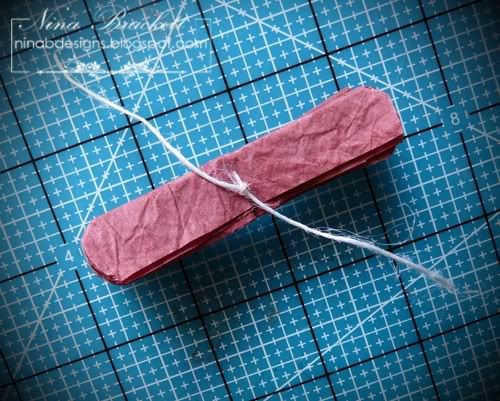
4. Tie a string through the slits.

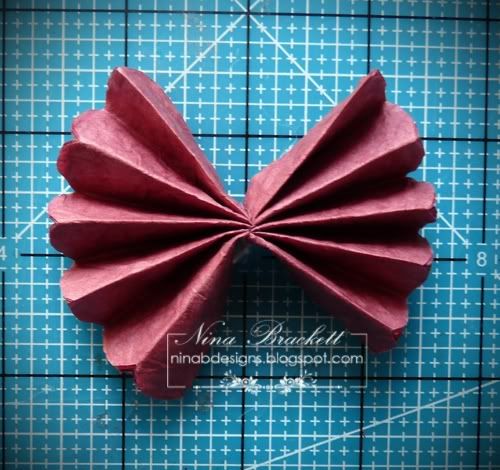
5. Your flower should like this.

6. Separate the sheets one by one.

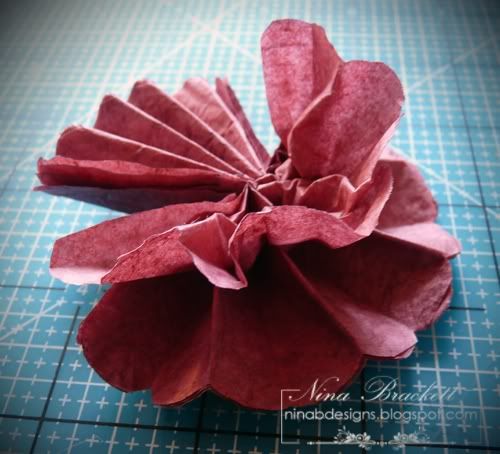
7. Continue to peel each layer until you produce this.

This is the top view. You can decorate the center with buttons, die cut flowers, etc.

I hope you like it.