Showing posts with label WMS Sketch. Show all posts

Wednesday, April 18, 2012

New Home

Here's a quick card for you today for the Waltzing Mouse Blog Party with the theme, New Beginnings. I used the Chicken Wire stamps and Cottage Home stamps (links below) to make this New Home card. I love this little Victorian house.
WMS-New-Home2
I colored the house with Copics without shading to match the patterned paper.
WMS-New-Home-Details
My card also follows the WMS Sketch Challenge this week. The colors follow The Pink Elephant's color inspiration.

My TCM stamps still haven't arrived, so I'm missing the previews. I hope you will join the rest of the team on the TCM blog and check out what's new!
Photobucket

Saturday, February 18, 2012

Spring Love

We are finally getting warmer weather and the snow is slowly melting away. Though it's still hovering right above freezing, we can finally enjoy being outside again. I was inspired to make this spring card.

The butterflies are Hero Arts digital stamps. The chevron background and sentiment (which was die cut using Spellbinders Home Sweet Home dies) are by Waltzingmouse stamps,the gray PP is Echo park.The bling is Want2Scrap. The links are below.
With Love
The butterflies were colored with Copics. I think this is the first time I've ever tried to blend two different color families.
With Love details
 
I also used WMS Sketch for my card:
and the color scheme is from CR84FN challenge.
Have a great weekend, friends!
 Photobucket

Tuesday, May 17, 2011

Waltzing Mouse May Blog Waltz

This is my very first Waltzingmouse Stamps Blog Waltz. I hope I'm doing it right :-). I was finally able to ink up some WMS stamps that I got last month from winning their sketch challenge. I love Claire's designs. She's one of the most talented paper crafters I know.
This month's theme is Masculine. I had to go clean and simple for this one. No lace or ribbons like my usual cards. I used the Offbeat Backgrounds set to create the plaid background. The sentiment is from Lovely Labels 3 by Gina K Designs.
Fathers Day
More info about the waltz here. The sketch follows the WMS Challenge this week. I flipped it upside down and they ask that you stamp a border, which I did with the sentiment. The buttons and twine make it perfect for the CAS-ual Friday challenge this week.

Have a great day!
Photobucket

Tuesday, April 5, 2011

Spring Card Set and a Mini Tutorial

Thank you so much for your kind comments from the announcement I made yesterday about changes with my design work. Your support and encouragement mean so much to me. I will have some new exciting things coming up, so I hope you'll continue to stop by and visit me on my little blog :-).

As soon as I saw Moxie Fab's Card Set challenge, I knew I had to enter. I love making card sets and make them often. They make great gifts, don't you think? The colors on my card set were inspired by the Play Date Cafe's colors of pink, blue and silver - a challenge for me, but I'm glad to have these Graphic 45 Once Upon A Springtime papers to get me started. The sketch (mini cards) is by Waltzingmouse Sketch Challenge #41 (my cards are 4.25 x 4.5").

I used some of my favorite Layers of Color's sets: Nature Walk (flower, which was colored with Copic markers), Regal Wings (wings), Sent with Love (card sentiments), Happy Wishes (box sentiment). I die cut the focal image with Spellbinders Labels 10 and adhered it slightly curved.
Card Set
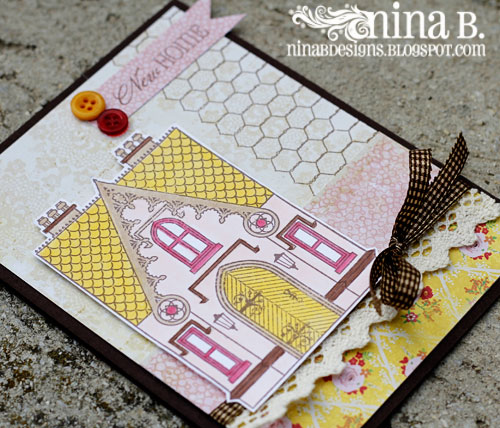
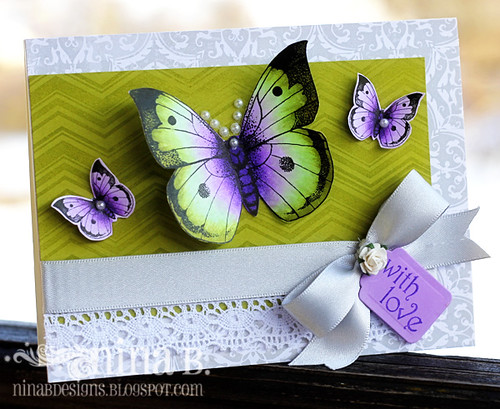
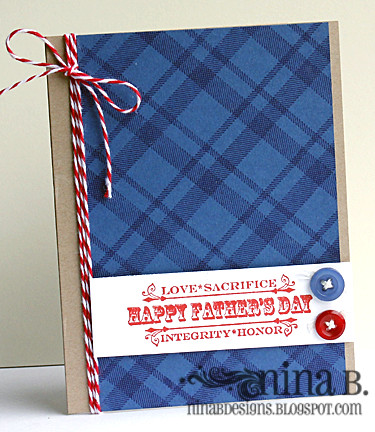
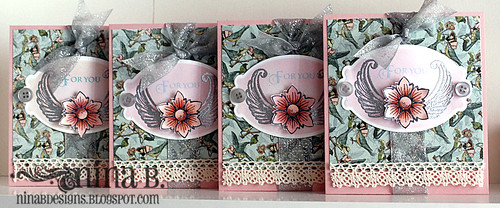
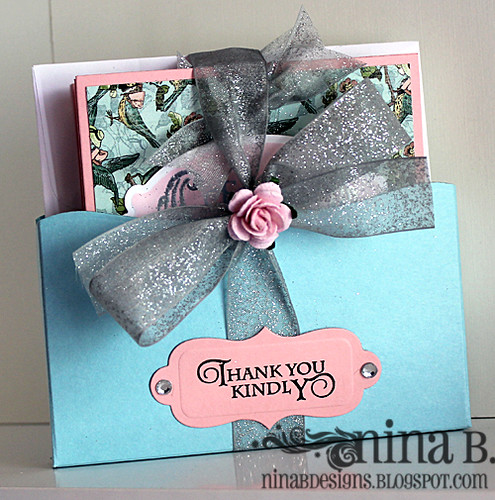
And here is the box I packaged it in. This set will be a gift for a good friend.
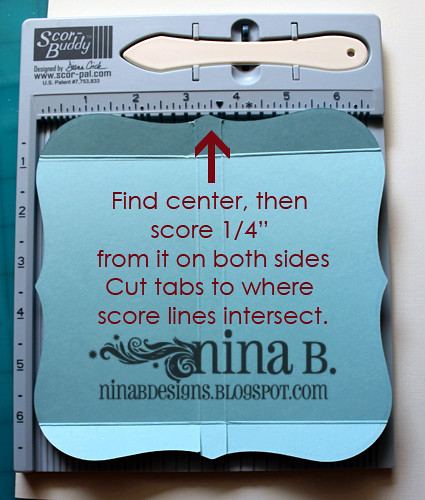
Card set box

I posted 
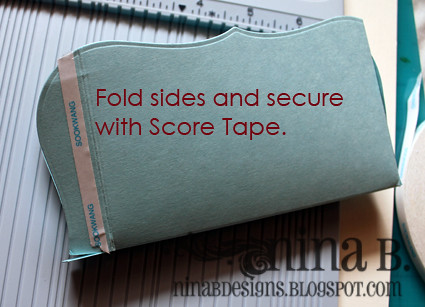
another card set in a box a few days ago and I received many inquiries about how I made that box. Here's a short tutorial on how I made the card box. The only difference is I used the Grand Nestabilities Labels 4 for that one and Labels 1 for today's box. A ScorBuddy will come in handy when mass producing these card sets.

My envelopes were 5" x 5", so I scored the box at 2-5/8" on both sides. You can adjust that, of course, depending on the size of your envelopes. Add about 1/4" to the width of your envelope.
Card Set Tutorial 1
You can also adjust the measurements below, depending on how thick your stack of cards and envelopes are. Keep in mind that when your cards are bulkier, you may need to make the score lines farther apart.
Card Set Tutorial 2

Card Set Tutorial 3
I hope you find that helpful. Have a great day!
Photobucket
Related Posts with Thumbnails